
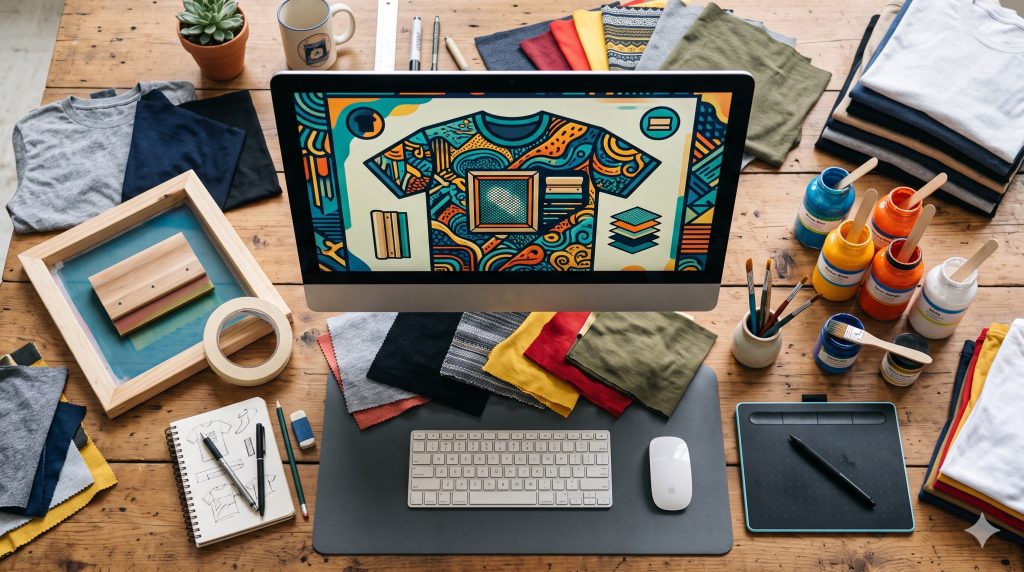
Preparing your artwork correctly is the secret to getting crisp, vibrant custom apparel. Small mistakes in your files can cause blurry prints, unexpected costs, or production delays — and they’re all easy to avoid.
Whether you’re a seasoned designer or a DIY creator making your first batch of shirts, this step-by-step guide covers almost everything you need to know about preparing artwork for screen printing so you get perfect results the first time.
Vector vs. Raster: The Golden Rule
The single most important factor in screen printing is your file type.
- Vector Art — made of mathematical paths, so it scales infinitely without ever losing quality. This is the industry standard for vector art for custom shirts.
- Raster Art — made of pixels, so it blurs and pixelates the moment it’s magnified.
Accepted File Formats & Requirements
To make sure your custom apparel prints perfectly, your files need to meet our standard shop requirements. We accept many formats, but three are especially easy for a DIY user: Vector, PDF, and JPEG.
1. Vector Files (.AI, .EPS)
- Best for: Logos, text, and geometric illustrations.
- Why it matters: Vector art scales to any size without losing crispness.
- Pro Tip: Always convert your text fonts to outlines before saving.
2. PDF Files (.PDF)
- Best for: High-quality design handoffs.
- Why it matters: A PDF preserves your layers, layout, and colors exactly as you intended.
- Pro Tip: Export your PDF from Adobe Illustrator or Canva using the “Press Quality” setting.
3. JPEG Files (.JPG, .JPEG)
- Best for: Photographs, highly detailed artwork, and complex drawings.
- Why it matters: It’s universal, easy to create, and accessible for everyone.
- Pro Tip: Your JPEG must be saved at 300 DPI at the exact size you want it printed. If it looks blurry on your screen, it will print blurry on a shirt.
Side note: If you’re using an AI tool, you can simply ask it to convert your image to a particular format — and Sandlot can convert most files for you if you get stuck.
Navigating Colors & Your Design Budget
Screen printing applies ink one color at a time using individual mesh screens. Because each color requires its own setup, understanding your color palette is key to managing your budget.
Our 12-Color Maximum
- Massive design freedom: We max out at 12 colors per design, giving you the flexibility to print everything from a simple logo to a highly detailed, multi-colored illustration.
- The cost factor: More colors mean more screens. If you’re looking to keep costs low, try to simplify your design to 1–3 spot colors.
- Pro design tip: Use the color of the t-shirt fabric as a “free” color. Want a black skull on a shirt? Leave that area empty and let a black tee show through. Our team can help you set this up if you need a hand.
Standard Print Sizing Guidelines
Sizing your artwork correctly ensures it looks balanced on the actual garment. A design that looks huge on a small shirt can look tiny on an extra-large one. Use these industry-standard dimensions when setting up your artboard:
- Standard Full Front / Back: 12″ W × 12″ H (fits nicely on most adult unisex shirts).
- Maximum Oversized Print: 13″ W × 15″ H (great for filling out a larger canvas).
- Left Chest Logo: 3.5″ W × 3.5″ H up to 4″ W × 4″ H (perfect for corporate branding).
- Youth Shirts: 8.5″ W × 8.5″ H (scaled down so the print doesn’t get cut off by the seams).
Stuck? Let Our Design Team Handle It
If terms like “vector paths,” “300 DPI,” or “outlining fonts” feel overwhelming, don’t sweat it. Sandlot offers extensive in-house graphic design services to bring your vision to life. Whether you need us to clean up a low-res JPEG, turn a sketch into a vector file, or create a custom shirt design from scratch, our team has you covered — with over 50 years of combined design experience on staff.
- Got a rough file? Send us your JPEG or PDF (or almost any other format) and our designers will optimize it for the press.
- Need more inspiration? Check out our guide on screen printing vs. sublimation, or take a deep dive into embroidery vs. screen printing to find the right method for your project.
Quick Summary Checklist
Before you upload your file, run through this final check:
- Is the file saved as a high-res JPEG, PDF, or vector file?
- Are all text elements converted to outlines?
- Is the resolution at least 300 DPI for JPEGs?
- Does the design stay within the 12-color maximum?
- Is the artwork scaled to our standard print sizes?
Ready to Print Your Custom Apparel?
Save your artwork as a JPEG, PDF, or vector file and send it over. If your file is perfect, we’ll head straight to production. If it needs a little help, our in-house graphic design team will polish it up until it’s print-ready.
Send your file through our contact page here, or email us directly at sandlotsports@sjss301.com. Prefer to talk it through? Call us at (989) 781-2991 or stop into one of our three Mid-Michigan retail stores in Saginaw, Bay City, and Midland — the team is ready to help or connect you with the right expert.
Thank you, and good luck with your screen printing project!